3D Touch - Peak&Pop feature.
- 5 minsIn my previous post I wrote about adopting UIApplicationShortcutItems in your app. Now it’s time to implement Peak&Pop - a feature provided by 3d Touch.

Get started
First of all we need to check if our device supports force touch events. Then if our device is familiar with force touch we can easily register our UIViewController for force touch events. Take a look at this snippet:
As you can see the above code uses the traitCollection property. It is available in every UIViewController and provides information about controller environment. In documentation we can read about it:
A trait collection encapsulates the system traits of an interface’s environment
So when we access traitCollection and get information about forceTouchCapability. It will return one of these values:
Another method that needs some attention is registerForPreviewing. It register UIViewController for force touch events. Documentation:
Registers a view controller to participate with 3D Touch preview (peek) and commit (pop).
There is also unregisterForPreviewing(withContext previewing: UIViewControllerPreviewing) function available. After unregistering, all features related to 3d Touch will be turned off for view controller that called unregisterForPreviewing method.
All registered, what’s next?
We should take a look on UIViewControllerPreviewingDelegate - this delegate class is responsible for handling events from 3d Touch in view controller that implements methods of this delegate.
There are two methods:
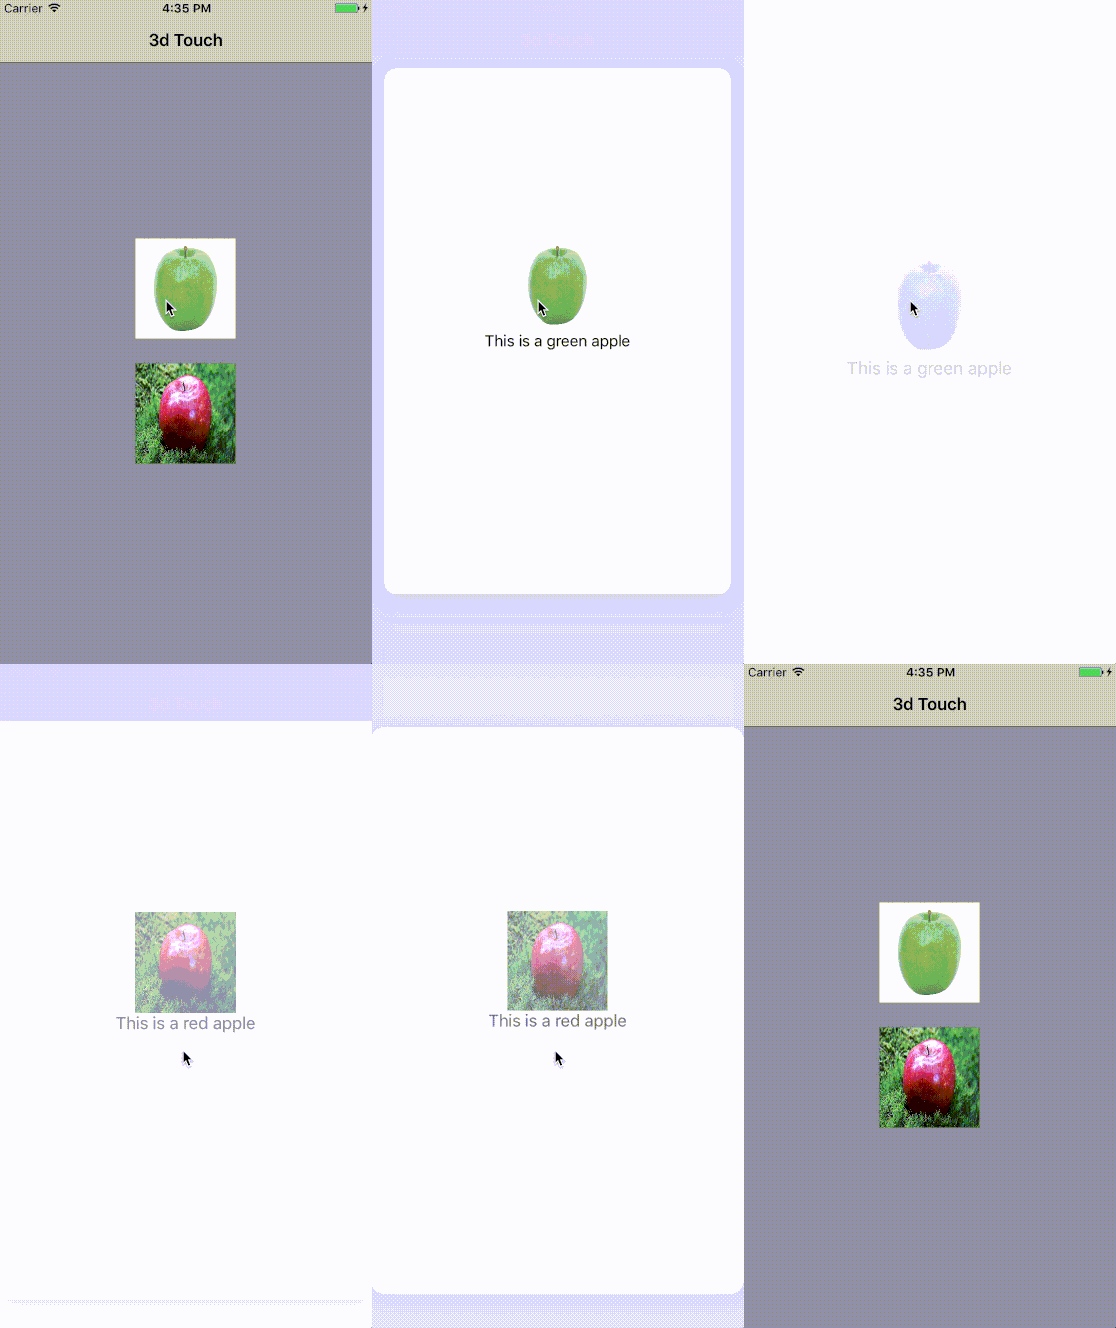
First method is responsible for catching force-touch events. For example if you firmly press some view in UIViewController, that conform to UIViewControllerPreviewingDelegate, the method will be called once until you release your finger or press more strongly the view. As you can see this method returns an optional UIViewController?. The controller returned from this function is used for action called Peek. There is also a second parameter named location it will give you an information about at what CGPoint in ViewController’s view, the app received force touch. Here you can see what the Peak looks like:

Second method is responsible for an event called Pop. When the 3d touch mechanism detects that you strongly pressed the ViewController that was returned from viewControllerForLocation method, it will call and pass that UIViewController as viewControllerToCommit to second previewingContext(_ previewingContext: UIViewControllerPreviewing, commit viewControllerToCommit: UIViewController) function.
Important thing is that when the
viewControllerForLocationreturnsnilthe second functionviewControllerToCommitwill be not called.
In this method we can present viewControllerToCommit or do another actions e.g animate touched view.
Implementation
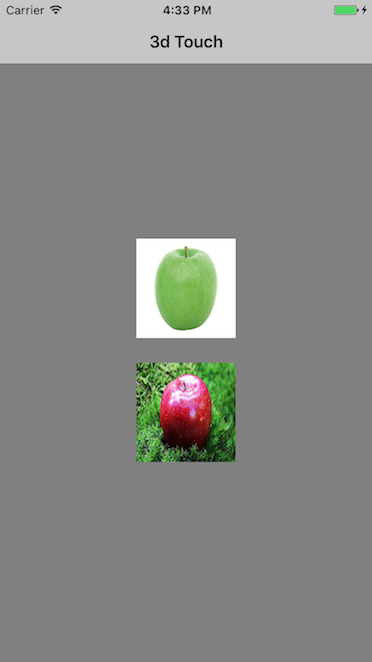
Let’s imagine that you have UIViewController that contains two UIImageViews with beautiful apple images inside. For this controller we want to implement 3d Touch Peak&Pop feature.

In viewDidLoad() function, register our controller for force touch events.
Create and add the UIImageViews to the array named forceTouchableViews. In my implementation I created AppleImageView class that inherits from UIImageView and have a appleDescription property.
You might be wondering why the forceTouchableViews is needed. But keep calm and continue reading, I will get back to it later :-).
Now let’s create an extension for our UIViewController that will conform to UIViewControllerPreviewingDelegate
For my purposes I created an Apple model class that holds name and image property. Also I created AppleDescriptionViewController which will be responsible for representing the
viewControllerToCommitparameter.
About the code
As you can see in viewControllerForLocation method, I iterate through my forceTouchableViews and check using wasTouched(in: location) function, if some of views was touched. If no view was touched the function will return nil. Ok, but what that wasTouched(in: location) function does?
It converts input point to location in superview(if exist) and then checks if that location is inside UIView’s bounds. If yes then it will return true and we can say that our view was touched.
If I determine that some of my apple image views was touched, then I create a AppleDescriptionViewController and return it.
The only thing just left is to press a little bit harder on our apple image view and we will get into last step. The body of that function is simple as follow:
Result

pretty nice, huh?
Conclusion
I don’t like the way to determine what view user touched. Checking a point and calculating location for that is not really nice. Maybe another, better way to implementing 3d touch mechanism for views could be: extending a UIView class by some property like 3dTouchGestureRecognizerDelegate then implementing some methods like in UIViewControllerPreviewingDelegate. Then we don’t have to check whether view was touched, because on the delegate methods the touched view could be passed as method parameter. Something familiar to gestureRecognizer. Maybe in future iOS updates the API will be changed? To sum up, UIViewControllerPreviewing allows us the create pretty nice features and I highly recommend to use that and make your application better!
The whole implementation with example app you can find in my GitHub repository .
Thanks for reading, and see you soon!
